 Sketchglass
How to draw a chibi character in three easy stages
A huge round head, a tiny body and big low eyes. Here is the simple order that makes any character look chibi, using the Chibi Buns sketch as our example.
In this guide
To draw a chibi character, start with a big, wide, round head and add any hair shapes that stick out, like two round buns. Next draw the bangs as one soft curve across the forehead with a few strand lines. Finish with large oval eyes placed about halfway down the head, a tiny smile, blush marks and a very small body that is much shorter than the head.
Chibi characters are the tiny, round, extra-cute versions of anime people. Learning how to draw a chibi character is simpler than it looks. The trick is not drawing skill but proportions: a giant head, a tiny body, and eyes that sit low on the face. Get those three things right and almost anything you draw will look chibi.
This guide follows the three stages of the Chibi Buns sketch in Sketchglass: Head and buns, Bangs, and Face and body. You only need a pencil and paper to follow along. If you want to learn the shapes by tracing first, there is a short section on that as well.
What makes a drawing look chibi
Before you start, it helps to know what you are aiming for. Most chibi styles share the same few rules:
- The head is the star. It is wide, round and much bigger than the body. In the Chibi Buns sketch, the body is less than half as tall as the head.
- The eyes sit low. In a grown-up face the eyes are around the middle of the head. In chibi they sit at the middle or a little lower, which leaves a big, round forehead.
- Everything else is tiny. A small curve for the mouth, no nose or just a dot, short stubby arms and a simple body shape.
- Lines are soft. Round curves look cute. Sharp corners look older and more serious.
Keep these in mind and you can turn any character, from your best friend to your cat, into a chibi.
What you need
- Paper (printer paper is fine)
- A pencil, ideally HB or 2B
- An eraser
- A black pen or fine marker for inking, if you like
- Coloured pencils or a pink pencil for the cheeks (optional)
Draw lightly at first. Light lines are easy to erase, and you can darken the ones you like at the end.
Stage 1: Head and buns
The head sets the size of everything else, so give it plenty of room on the page.
- Draw the head. Draw a wide, round shape a bit like a rounded bun of bread: flatter on top, full and round at the cheeks and chin. Make it wider than you think. Fill about half your page.
- Check the shape. The widest part should be low, around the cheeks. A head that is widest at the top looks like a light bulb instead of a chubby face.
- Add the buns. Draw a circle on each top corner of the head, half sitting on the outline. Make both the same size and at the same height.
- Leave room below. Make sure there is a little space under the head for the body. A chibi body is small, so you do not need much.
If you want a different hairstyle, this is the stage to change it. Swap the buns for pigtails, cat ears or a hat, but keep the head big and round.
Stage 2: Bangs
Bangs frame the face and do a lot of the work of making a chibi look like a character.
- Draw the hairline. Starting low on one side of the head, draw a curve that rises up across the forehead and comes back down on the other side. It should sit about a third of the way down the head.
- Add a parting. From the top of that curve, draw a short line that slants down. This makes the hair look parted, not like a helmet.
- Add strand lines. Draw two more short lines, one on each side, slanting down from the hairline. Three lines are enough. Too many strands make a small face look busy.
- Erase the overlap. Rub out the part of the head outline that sits under the buns, so the buns look like hair and not like separate balls.
Stage 3: Face and body
This is the fun stage, where the character gets its personality.
- Place the eyes. Draw two tall ovals, about halfway down the head. Space them wide apart, closer to the sides of the face than to each other. Wide-set eyes look cuter.
- Add the pupils. Inside each eye, draw a smaller oval and fill it in dark. Set it a little low in the eye. If you want a shine dot, leave a tiny white circle near the top. Our guide on how to draw anime eyes goes deeper into lashes and shine.
- Draw the mouth. Between the eyes and a little lower, draw a tiny curved smile. Keep it small. A big mouth quickly stops looking chibi.
- Add blush. Under each eye, on the outside of the cheeks, draw two short slanted strokes side by side. This is a classic chibi touch and takes two seconds.
- Draw the body. Under the chin, draw a small shape that gets wider at the bottom, like a little dress or a bell. Keep it short.
- Add arms. Draw two short lines slanting down and out from the top of the body. Stubby arms without hands look perfectly chibi.
- Ink and colour. Go over the lines you like in pen, let it dry, erase the pencil, then colour. Pink cheeks and a bright outfit go a long way.
From arm's length, if the character looks too grown-up, the body is probably too big or the eyes too high. Shrink the body or move the eyes down on your next try.
Learning the shapes by tracing first
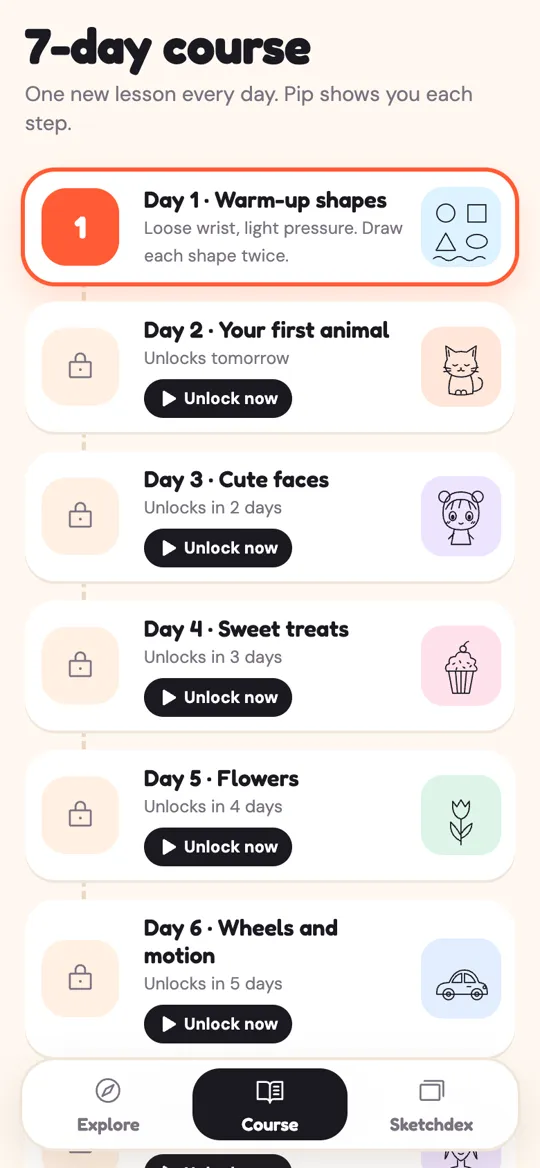
If your chibi keeps coming out lopsided, tracing it a few times helps your hand learn where each shape goes. Chibi Buns is a free sketch in the Anime and chibi pack in Sketchglass, split into the same three stages as this guide, with Pip the pencil showing one step at a time. It is also the sketch for Day 3, Cute faces, in the 7-day course, where the tip is that eyes sit halfway down the head.
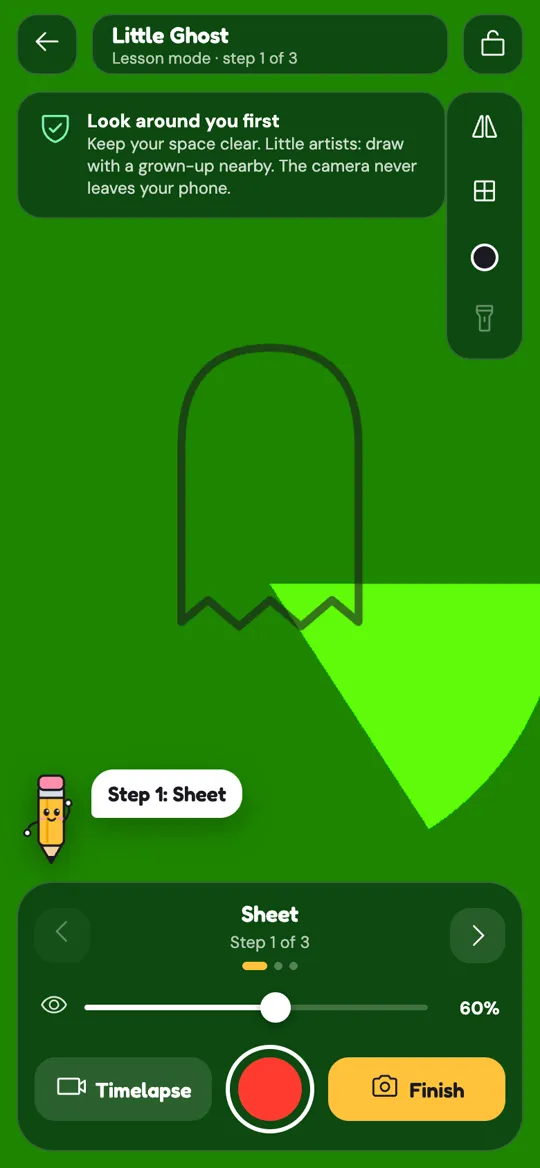
- Prop your phone on a glass or a stack of books, about a hand above your paper.
- Open Chibi Buns from the Anime and chibi pack.
- Pinch, drag and twist the sketch into place, then lock it.
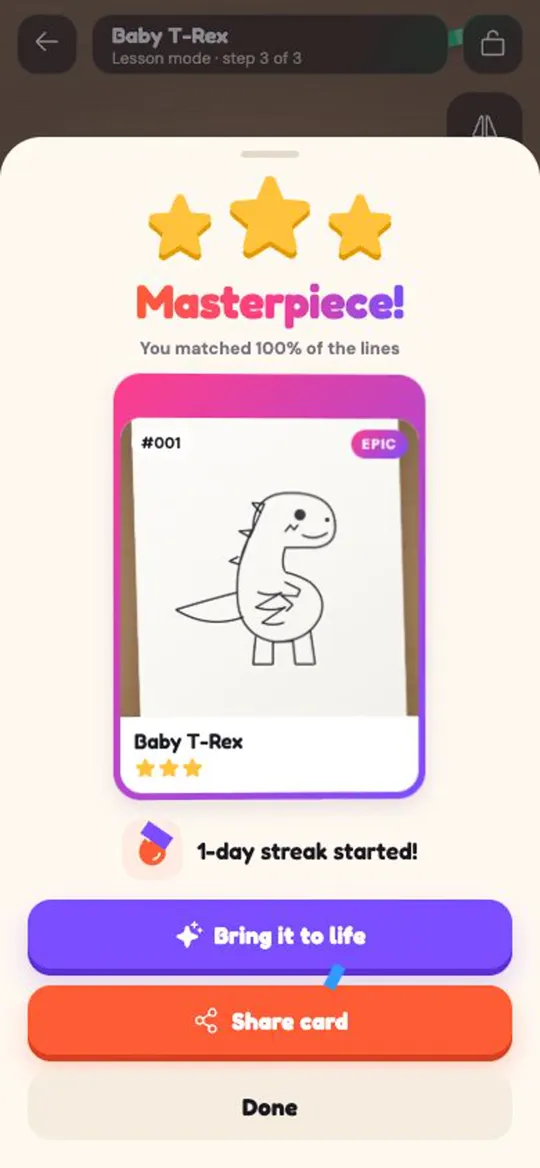
- Trace stage by stage, then snap your finished drawing to get your stars and a Sketchdex card.
New to phone tracing? Read what AR drawing is and how it works. Once tracing feels easy, try drawing your chibi again with no guide at all. Our ladder for going from tracing to freehand shows how to take the guide away a little at a time.
Common mistakes and quick fixes
- It looks like a normal kid, not a chibi. The body is too big. Make it shorter and the head wider.
- The face looks squashed. The eyes are too high. Move them down so there is a big forehead under the bangs.
- The character looks surprised. The eyes are round with lots of white. Make them taller ovals and fill more of each eye with the pupil.
- The buns look stuck on. Erase the head line under each bun so the hair flows into them.
- The face looks busy. Remove the nose and use fewer strand lines. Chibi faces are mostly empty space.
FAQ
What are chibi proportions?
Chibi characters have a very big head and a very small body. Many chibi drawings are only two or three heads tall, and some, like Chibi Buns, have a body much shorter than the head. The eyes sit about halfway down the head or lower.
What is the easiest way to draw a chibi for beginners?
Work in three stages: a big round head with any hair shapes, then the bangs, then the eyes, mouth, blush and a tiny body. Drawing lightly and finishing one stage at a time keeps the shapes even.
Do chibi characters need a nose?
No. Most chibi faces have no nose at all, or only a tiny dot or tick. Leaving it out keeps the face round and cute.
How do I turn a real person into a chibi?
Keep the one or two things people notice first, like their hairstyle, glasses or favourite colour, and put them on a big round chibi head with a tiny body. Simple details make the character easy to recognise.
Is Chibi Buns free in Sketchglass?
Yes. Chibi Buns is one of the free sketches in the Anime and chibi pack. It is also the Day 3 Cute faces lesson in the 7-day drawing course.