 Sketchglass
How to draw anime eyes step by step, in three easy stages
Thick top lashes, tall irises and a bright shine dot. Here is the simple order that makes eyes look anime, plus the mistakes that make them look off.
In this guide
To draw anime eyes, start with the top lash line: a thick curve that rises and flicks out at the outer corner, plus a thin brow above it. Then draw a tall oval iris that touches the lash line, with a dark pupil sitting a little low inside it. Finish with a white shine circle near the top of the iris and a short, light lower lash line underneath.
Anime eyes look complicated, but almost every style is built from the same few parts in the same order. Get the order right and the eyes come out looking lively, even on your first try.
This guide shows how to draw anime eyes step by step using the three stages from the Anime Eyes sketch in Sketchglass: Lashes and brows, Irises, and Shine and lower lashes. You can follow it with just a pencil and paper. If you would rather learn the shapes by tracing first, there is a short section on that too.
What you need
- Paper (printer paper is fine)
- A pencil, ideally a soft one such as HB or 2B
- An eraser
- A black pen or fine marker for inking, if you like
- Optional: a white gel pen or white pencil for extra shine
Start every line lightly. Light lines are easy to erase and easy to darken later, once you like where they are.
Stage 1: Lash lines and brows
The top lash line is the most important line in an anime eye. It sets the size, the mood and the direction the eye is looking.
- Mark the spacing. Lightly mark where each eye goes. Leave a gap between them about as wide as one eye. A gap that is too small makes the face look cross-eyed.
- Draw the top lash line. For the left eye, start at the outer corner and draw a curve that rises, then dips down towards the nose. Make it thicker than your other lines. Mirror it for the right eye.
- Add the flick. At the outer end of each lash line, add a tiny extra stroke that points out and down. That little flick is what reads as "lashes" from far away.
- Draw the brows. Above each eye, draw a long, thin, soft arch. Keep the brows higher than you think. Space between brow and eye makes the character look open and friendly.
Look at both eyes together before you move on. If one is bigger or tilted, fix it now. It is much harder later.
Stage 2: Irises and pupils
Anime irises are big and tall. They are usually ovals standing upright, not circles.
- Draw the iris. Under each lash line, draw a tall oval. The top of the oval should touch or tuck under the lash line, so the eye looks like it is gazing out from under the lid.
- Check the size. Each iris should take up most of the space between the outer corner and the inner corner. Bigger irises look younger and cuter; smaller ones look older or more serious.
- Add the pupil. Inside each iris, draw a smaller oval and fill it in dark. Place it slightly below the centre. A low pupil makes the eye look soft and calm.
- Match the direction. Both pupils should sit in the same spot in their irises. If one drifts left and the other right, the character will look confused.
Stage 3: Shine and lower lashes
This stage is where the eyes come to life. It only takes a few strokes.
- Place the shine. Draw a small circle near the top of each iris, partly over the pupil. Put it on the same side in both eyes, as if light is coming from one direction. Leave it white; do not shade it.
- Add the lower lash line. Under each iris, draw a short, gentle curve. Keep it lighter and shorter than the top line. A heavy lower line makes eyes look tired.
- Add a tiny nose. Below and between the eyes, a small curved tick is enough to hint at a nose and make the pair feel like part of a face.
- Shade the iris (optional). Shade the top part of each iris darker and let it fade lighter towards the bottom. Keep the shine circle clean.
- Ink and erase. Go over the lines you like with a pen, wait for the ink to dry, then erase the pencil underneath.
That is a complete pair of anime eyes. Now try changing one thing at a time: a flatter lash line for a sleepy look, a sharper flick for a cool look, or round irises for a surprised look.
Learning the shapes by tracing first
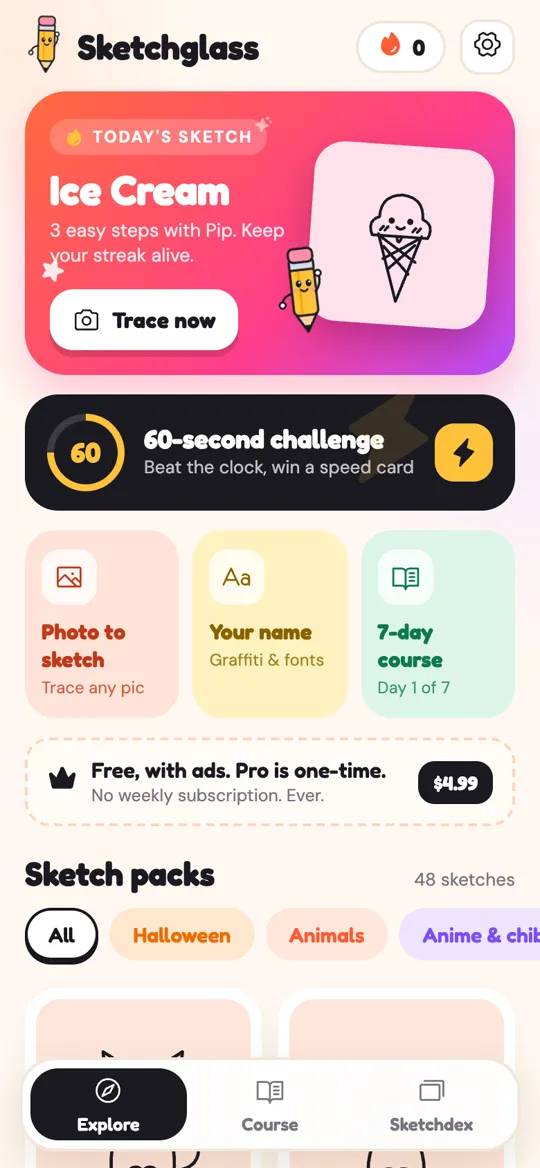
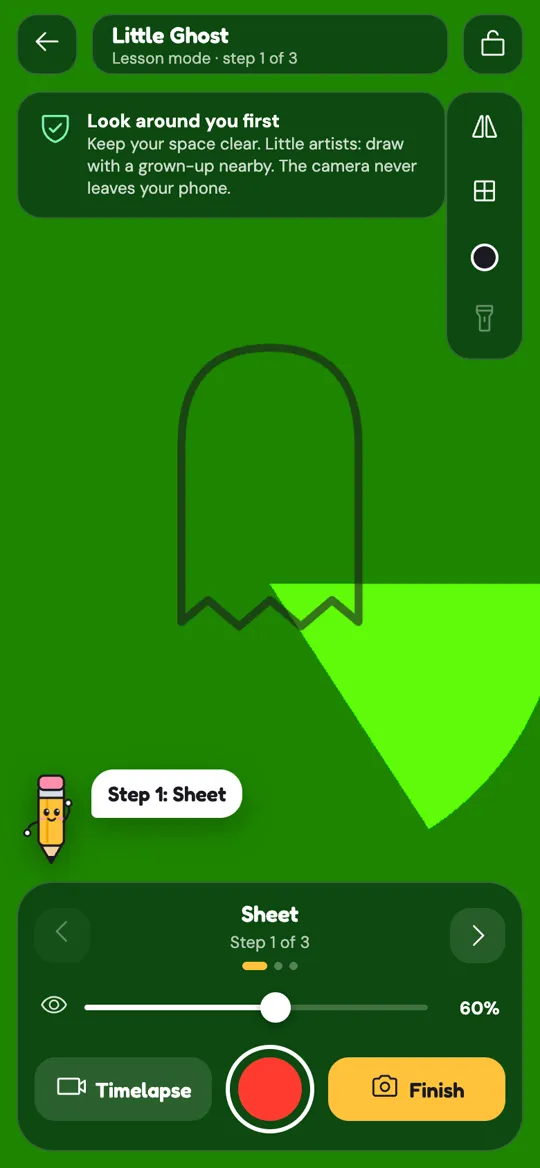
If your eyes keep coming out uneven, tracing can help your hand learn the curves before you draw them alone. In Sketchglass, the Anime Eyes sketch is free and split into the same three stages as this guide, with Pip the pencil showing one step at a time.
- Prop your phone on a glass or a stack of books, about a hand above your paper.
- Open Anime Eyes from the Anime and chibi pack.
- Pinch, drag and twist the sketch into place, then lock it.
- Trace stage by stage, then snap your finished drawing to get your stars and your Sketchdex card.
New to phone tracing? Our guide to what AR drawing is and how it works walks through the setup. Wondering whether tracing counts as real practice? Read is tracing cheating? for an honest answer and a routine to turn traces into freehand skill.
Common mistakes and quick fixes
- The eyes look flat. Make the top lash line thicker than everything else. Line weight is what gives anime eyes their punch.
- The character looks scared. The iris is floating with white all around it. Tuck the top of the iris under the lash line.
- The eyes look tired. The lower lash line is too dark or too long. Make it lighter and shorter.
- The shine looks random. Put the shine circle on the same side and at the same height in both eyes.
- One eye is bigger. Draw both eyes stage by stage, side by side, instead of finishing one eye first.
Where to go next
Eyes are the heart of an anime face, so once you are happy with them, try a full head. Sketchglass has a Chibi Buns sketch in the same pack, and the 7-day course includes a Cute faces lesson on day 3 and an Anime portrait on day 7. If you want a gentle daily routine around that, the 7-day drawing practice plan builds from warm-up shapes to a full portrait.
A good habit: draw a row of five pairs of eyes on one page, each with a different mood. It takes ten minutes and you will learn more than from one perfect pair.
FAQ
What is the easiest way to draw anime eyes for beginners?
Draw them in three stages: a thick top lash line and brow, then a tall oval iris with a dark pupil, then a white shine circle and a short lower lash line. Doing both eyes stage by stage keeps them even.
Why do anime eyes have white circles in them?
The white circles show light reflecting off the eye. They make the eyes look shiny and alive. Put them on the same side in both eyes so the light seems to come from one direction.
Should anime irises be circles or ovals?
Most anime styles use tall ovals for irises. Ovals look more natural inside the lash line. Round irises can work for a surprised or very cute look.
How do I keep both eyes the same size?
Work on both eyes at once, one stage at a time, and check them side by side after each stage. Leaving about one eye's width between them also helps them look balanced.
Is the Anime Eyes sketch free in Sketchglass?
Yes. Anime Eyes is one of the free sketches in the Anime and chibi pack. Some other sketches in that pack, like Anime Girl and Anime Hero, are part of Pro or can be unlocked by watching a short video.