 Sketchglass
AR tracing in the art classroom: when it helps, how to set it up and a lesson you can run
A phone above the paper can help students who freeze at a blank page. Here is how to use it as scaffolding that fades, with a ready-made lesson and a station checklist.
In this guide
AR tracing in the art classroom works best as a short, planned support: students trace a simple sketch through a phone camera to learn how its shapes fit together, then redraw it freehand in the same lesson. Run it at one or two stations, agree on safety and sharing rules first, and mark the freehand drawing and the student's choices, not the traced copy.
Art teachers argue about tracing a lot. Some ban it because it can replace looking. Others allow it for students who would otherwise hand in a blank page.
Phone-based tracing adds a new twist. The student props a phone above real paper, sees a sketch floating over the page on screen and follows the lines with a pencil. The drawing ends up on paper, in the student's own hand.
This guide is for teachers who want to try it without letting it take over. It covers when AR tracing earns a place in a lesson, how to set up a station, a 45-minute plan, and how to mark the work fairly. We use Sketchglass, our AR drawing app, as the example, but the ideas work with any tracing method.
When tracing helps, and when it gets in the way
Tracing is a tool, so start from the learning goal.
It tends to help when:
- The goal is shape and proportion. Following the lines of a cartoon cat shows a student how big the head is next to the body. That is hard to explain in words.
- A student is stuck before they start. A first set of lines on the page can be enough to get going.
- You want a quick shared result. A whole group making the same simple character gives you something to compare and talk about.
It gets in the way when:
- The goal is observation. If the lesson is about drawing the real plant on the table, a traced plant skips the point.
- It is the only step. A traced drawing with no freehand follow-up teaches very little.
- The work is assessed as original. A traced image should never be marked as if it were drawn from scratch.
If you want a longer look at the honesty side, our article on whether tracing is cheating has simple rules students can follow.
Set up a tracing station
One or two stations, used in turns, are plenty for most lessons.
- Choose a steady stand. A wide drinking glass or a stack of two or three books holds the phone about a hand above the paper, camera facing straight down.
- Tape the paper down. A strip of masking tape on two corners stops the page sliding, which is the most common reason a trace goes wrong.
- Light the table evenly. Overhead room light is usually fine. Keep a bright window from shining straight into the camera.
- Keep the space clear. Students look at a screen while their hand moves, so move water pots, scissors and bags away from elbows.
- Post the rules. Two short lines are enough: the phone stays on its stand, and the camera only points at the paper.
Our guide to setting up a phone for AR tracing goes deeper on height and light if a station keeps giving trouble.
A 45-minute lesson plan: trace, then let go
This plan uses one simple character and ends with a freehand drawing. Older students can move faster.
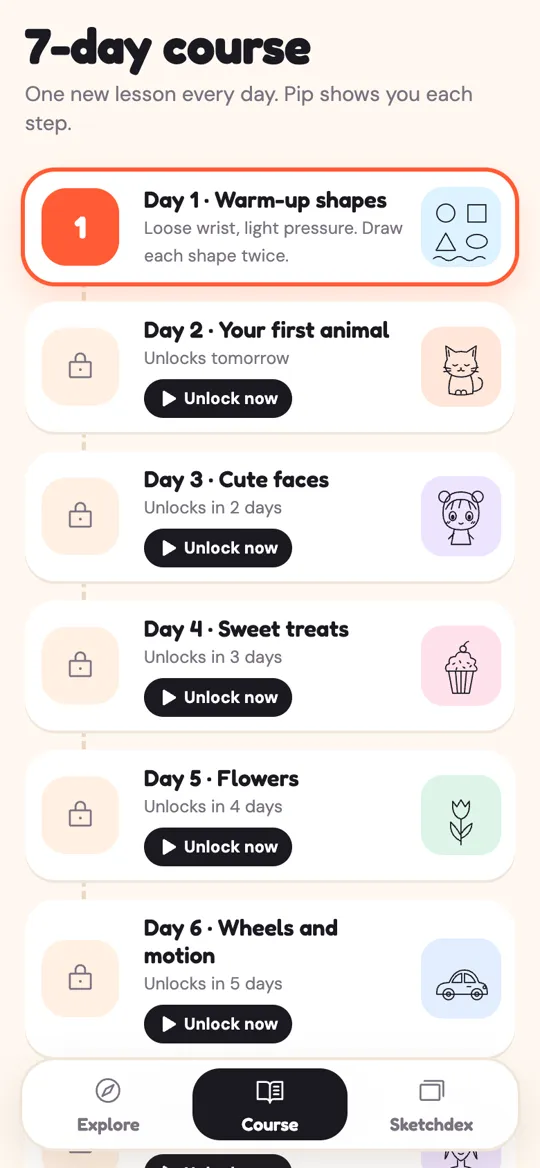
- Warm up (5 minutes). Everyone draws circles, ovals and long curves on scrap paper with a loose wrist and light pressure. The Sketchglass course opens with the same kind of warm-up shapes.
- Look and name the shapes (5 minutes). Show the sketch on the board or a screen. Ask: what shape is the head? Where does the tail start? How many steps would you split it into?
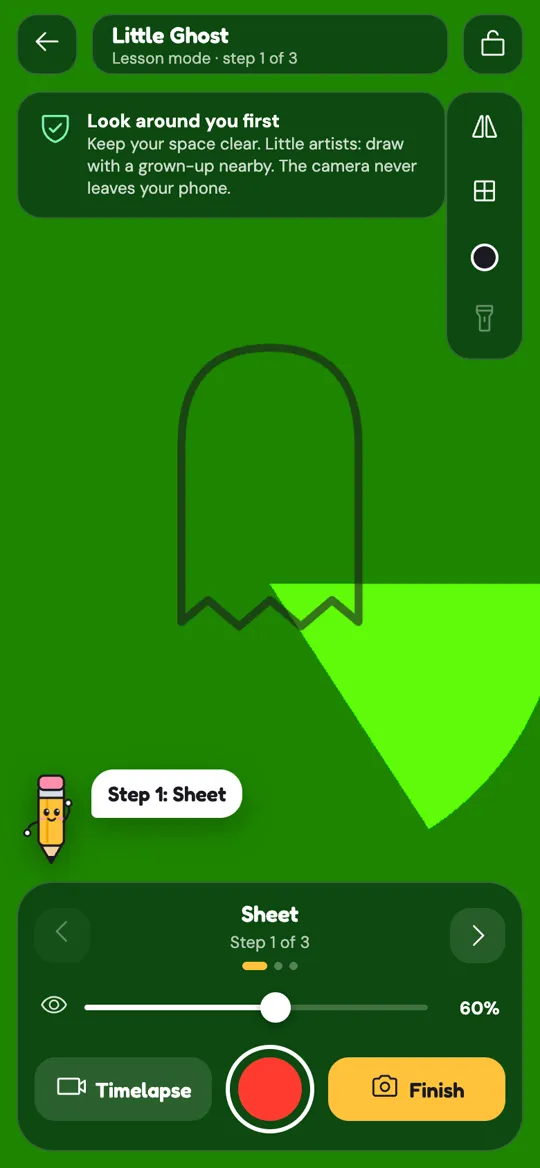
- Trace in steps (10 minutes). At the station, students place the sketch by pinching, dragging and twisting, lock it, and trace it one step at a time. In Sketchglass each sketch is split into easy steps, and Pip the pencil names each one, such as "Step 1: Sheet" for the Little Ghost.
- Redraw freehand (15 minutes). Back at their desks, students draw the same character next to their trace without the phone. They can glance at the trace but not copy over it.
- Compare and talk (10 minutes). Students put the two drawings side by side and name one thing that changed and one thing they want to try next time.
Step 4 is the heart of the lesson. Without it, students only practise following lines. With it, they find out how much of the shape they now understand. Our article on going from tracing to freehand has more ways to fade the guide over several weeks.
Ways to fade the support over a term
Plan the tracing to shrink, so it never becomes the default.
- Lower the opacity. Sketchglass has an opacity slider for the sketch. Start around the middle, then turn it down each time so students rely more on their own eye.
- Trace only the first step. Let students trace the main outline, then finish the details freehand.
- Lean on the grid. The grid tool lays a grid over the view. Turn the sketch down to its faintest and ask students to use the grid squares to judge where each part goes, a good middle rung between tracing and drawing from a reference.
- Flip it. The flip tool mirrors the sketch. Tracing it the other way round, then drawing the original facing freehand, is a nice puzzle for older students.
- Remove the phone. End the unit with a drawing from a picture or from life, with no tracing at all.
Safety, privacy and sharing in a class
A camera in a classroom raises fair questions. Have clear answers ready.
In Sketchglass there is no account or sign-up. The camera view and the photo of a finished drawing are processed on the phone and never uploaded. The first time the camera opens, the app shows a tip: look around you first, keep your space clear, and little artists draw with a grown-up nearby. The full details are in the Sketchglass privacy policy, and the parent's guide to AR drawing for kids covers ads and purchases.
When a student finishes, the app takes one photo of the paper and makes a share card with the sketch next to the drawing. Nothing is shared on its own: Save puts it in the phone's gallery, and Share opens the phone's own share sheet. In class, a simple rule works well: cards are saved on the class device, and the teacher decides what gets shown.

Marking and feedback that stay fair
Tracing changes what you can fairly assess. Keep it simple:
- Mark the freehand drawing, not the trace. The trace is evidence of practice, like a warm-up page.
- Mark choices. Size, placement on the page, line weight, colour and any changes the student made to the character are theirs.
- Ask for a note. A short line such as "traced first, then drew it myself" keeps everything honest and teaches students to credit sources.
- Ignore app scores. The stars on a card react to how closely the lines match the sketch. They are a bit of fun, not a grade.
Over a term, a folder with trace and freehand pairs shows growth better than any single drawing.
FAQ
Should tracing be allowed in art class?
It depends on the goal. Tracing fits lessons about shape and proportion when it is followed by a freehand attempt. It does not fit lessons about drawing from observation or work marked as original.
How many phones do I need for AR tracing in class?
You do not need one per student. One or two tracing stations used in turns are enough, while the rest of the class works on warm-ups or freehand drawings.
What age is AR tracing suitable for?
Any age that can hold a pencil and follow a line can try it, with an adult nearby. Younger children do best with chunky, simple sketches and short sessions.
Does Sketchglass need student accounts?
No. Sketchglass has no account or sign-up, and camera frames and photos of drawings are processed on the phone and never uploaded.
How do I stop students relying on tracing?
Always pair a trace with a freehand redraw, lower the sketch opacity over time, lean on the grid tool, and end each unit with a drawing made without the phone.
Is Sketchglass available now?
Sketchglass is coming soon to Google Play for Android. It is free with ads, and Pro is a one-time purchase with no weekly subscription.