 Sketchglass
How to draw smooth, confident lines (even if yours wobble now)
Shaky lines are a habit, not a lack of talent. Change how you hold the pencil, where the movement comes from and how fast you go, then practise with a few short drills.
In this guide
To draw smooth lines, hold the pencil loosely, move from your elbow or shoulder instead of your fingers, and draw each line in one steady stroke at a medium speed. Plan the line by "ghosting" it in the air first, start light, and practise with a few minutes of drills such as dot-to-dot lines, circles and wavy lines every day.
Most beginners draw hairy lines: lots of short, scratchy strokes joined into one fuzzy edge, or a long line that wobbles and ends in a hook.
That is normal, and it is fixable. Clean lines come from a few small changes in how you hold and move the pencil, plus a little daily practice. You do not need special talent or expensive tools.
This guide explains why lines wobble, how to fix your grip and movement, four drills you can do with any pencil, and how tracing can help you practise the feeling of a clean stroke.
Why your lines look shaky or hairy
Before fixing anything, it helps to know what causes the wobble.
- Drawing too slowly. When you creep along, every tiny tremble in your hand shows up on the paper. A bit more speed smooths it out.
- Moving only your fingers. Fingers are great for small details, but they can only travel a short way. A long line drawn with the fingers turns into several short arcs stitched together.
- Gripping too tight. A tight grip makes the hand stiff and presses the point hard into the paper, which makes lines dark, scratchy and hard to fix.
- Going over and over. Re-drawing the same edge many times creates the hairy look. Each pass lands in a slightly different place.
- Watching only the tip. If your eye stays on the pencil point, the line drifts. Look at where you want to finish.
Fix your grip and where the movement comes from
Small changes make the biggest difference. Try them one at a time.
- Loosen your grip. Hold the pencil a little further from the tip than usual, and only tight enough that it would not fall out. Your knuckles should not turn white.
- Press lightly. Start every drawing with light lines. Light lines are easy to erase and easy to darken later, once you are happy with them.
- Use the right joint for the size. Fingers for tiny details like eyes. Wrist for small curves. Elbow for medium lines. Shoulder for long, sweeping lines across the page.
- Lock what you are not using. For a long line, keep the wrist fairly still and let the arm do the work. The line comes out straighter and more even.
- Turn the paper. Everyone has directions that feel natural. Rotate the page so the line you need runs in your comfortable direction, instead of twisting your arm.
- Give yourself room. Clear away anything your elbow might bump.
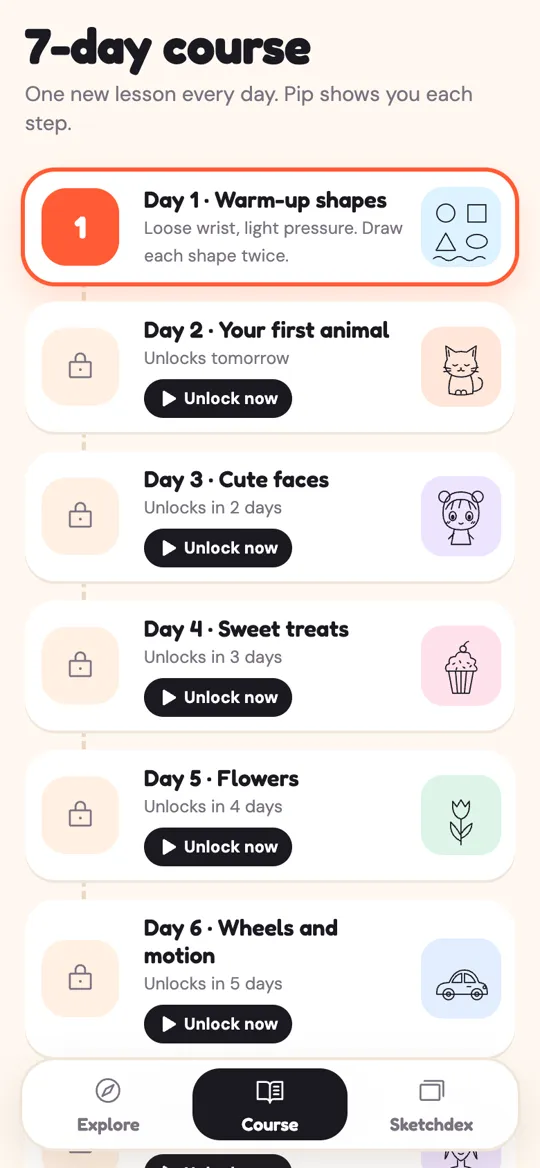
The Sketchglass 7-day course opens with the same idea. Day 1 is a lesson called Warm-up shapes, and its tip is short: loose wrist, light pressure, draw each shape twice.
The ghosting method: plan, then commit
Ghosting is one of the most useful habits for line confidence. It means rehearsing the movement before the pencil touches the page.
- Mark the start and the end. Put two small dots where the line should begin and finish.
- Hover and rehearse. Hold the pencil just above the paper and move along the path a few times without touching.
- Watch the end point. While you rehearse, keep your eyes on the finishing dot, not the pencil tip.
- Draw in one stroke. When the movement feels natural, lower the pencil and draw the line in one go, at the same speed you rehearsed.
- Accept the result. If it misses, do not go over it. Draw a fresh line next to it. Over time the misses get smaller.
This feels slow at first, but it soon becomes a quick habit.
Four drills for smooth, confident lines
A few minutes of drills a day beats one long weekly session. Use cheap paper so you feel free to fill pages.
- Dot-to-dot lines. Scatter pairs of dots on a page and connect each pair with one straight stroke, using the ghosting method. Mix short and long distances and all directions.
- Circles and ovals. Draw circles in one smooth loop, then go round two or three times lightly so the shape settles. Then draw ovals at different angles.
- Wavy lines. Draw rows of gentle waves across the page, trying to keep each bump the same size. This builds control for curves like hair, frosting and flower stems.
- Parallel lines. Draw a line, then another right next to it with an even gap, and keep going down the page. It trains your hand to repeat the same movement on purpose.
The Day 1 warm-up in Sketchglass uses a similar mix: circle and square, triangle and oval, then a wavy line. If you like a structured start, our 7-day drawing practice plan builds these warm-ups into 15-minute sessions.
How tracing helps you practise line control
Tracing gets a bad name, but it is a good way to practise the movement of a clean line, because the shape is already decided. All your attention goes on the stroke itself. We cover the honesty side in is tracing cheating?
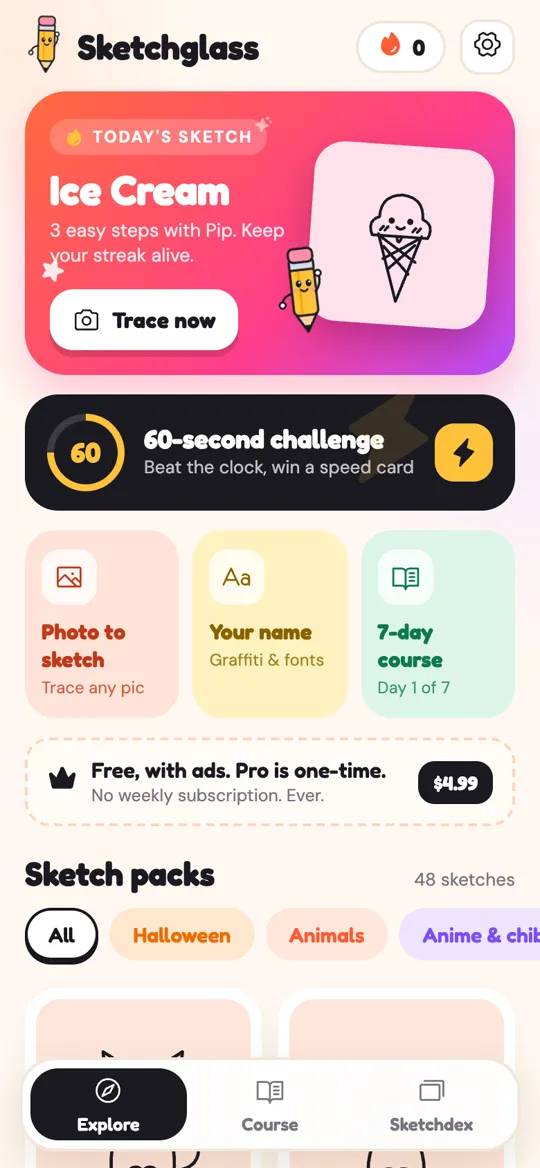
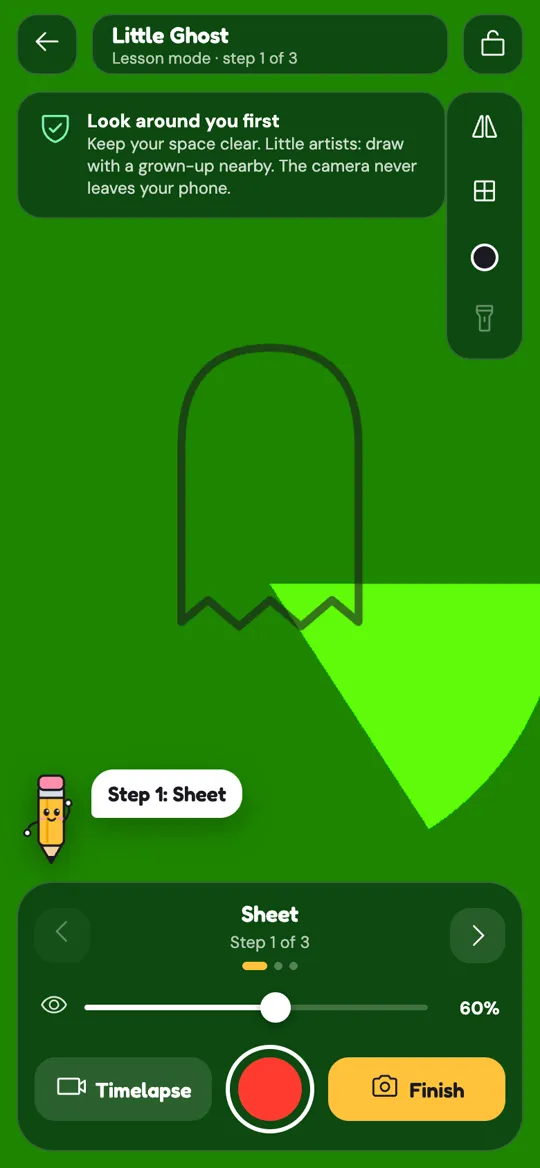
With an AR drawing app like Sketchglass, you prop your phone about a hand above real paper, a sketch appears over the page on screen, and you follow the lines with your own pencil. Each sketch is split into easy steps, so you trace one part at a time.
Some ways to use it for line practice:
- Trace each step in as few strokes as you can. For the Little Ghost's sheet outline, aim for a few long curves, not dozens of short scratches.
- Ghost first. Hover over each line on the screen before you draw it, just as you would on a blank page.
- Turn the sketch down. The opacity slider sets how strongly the sketch shows. A fainter guide makes you trust your own movement more.
- Change the line colour. If the sketch lines are hard to see on your paper, switch the line colour so you can follow them without squinting and slowing down.
- Redraw it freehand. Afterwards, draw the same shape next to your trace without the phone and compare the lines. Our guide on going from tracing to freehand shows how to fade the guide step by step.
If your trace keeps sliding out of place, check your setup. Our guide to setting up your phone for AR tracing covers height, light and taping the paper down.
A 10-minute daily line routine
Repeat this every day for two weeks.
- Minute 0–2: loosen up. Big circles and loops in the air, then on scrap paper, moving from the shoulder.
- Minute 2–5: dot-to-dot lines. One page of connected dot pairs, ghosting each one first.
- Minute 5–7: curves. A row of circles, a row of ovals and a row of wavy lines.
- Minute 7–10: one small drawing. Trace or draw a simple object, such as a ghost, an ice cream or a cat, using as few strokes as possible.
Date your pages. Comparing day 1 with day 14 shows progress you might miss day to day.
FAQ
Why are my pencil lines so shaky?
Shaky lines usually come from drawing too slowly, gripping the pencil too hard or moving only the fingers. Loosen your grip, move from the elbow or shoulder and draw at a steady medium speed.
Should I draw lines fast or slow?
Aim for a medium, confident speed. Too slow lets every tremble show, and too fast loses control. Rehearse the movement in the air first, then draw at the same speed.
How long does it take to draw smooth lines?
It varies from person to person. Short daily practice, even five to ten minutes of drills, usually shows a clear difference within a few weeks, more than one long session a week.
Is it bad to sketch with lots of short strokes?
Short strokes are fine for loose early sketches, but they make edges look hairy in a finished drawing. Practise drawing each edge in one or two long strokes instead.
Does tracing help with line control?
Yes, when you treat it as practice. Tracing lets you focus only on the stroke because the shape is already decided. Follow it with a freehand attempt so you build your own control.
Is Sketchglass available now?
Sketchglass is coming soon to Google Play for Android. It is free with ads, and Pro is a one-time purchase with no weekly subscription.