 Sketchglass
Drawing birthday cards with kids: a simple plan from blank paper to finished card
A homemade card does not need to be fancy. Here is how to set up, pick one picture, letter the name and finish it together in about an hour.
In this guide
To draw a birthday card with a child, fold the card first, plan one big picture for the front, draw it lightly in pencil, add the person's name in a fun lettering style, then go over the lines and colour. Keep the message inside short and in the child's own words. One clear picture, one name and one sentence usually look better than a crowded page.
A homemade card is often the one that stays on the fridge. It does not have to be neat. It has to look like the child made it, for someone they care about.
The tricky part is getting started. A blank folded card can freeze a child the same way a blank page freezes an adult. This guide gives you a simple plan for drawing birthday cards with kids, from the supplies on the table to an envelope ready to post. It works with a plain pencil, and we show where a tracing app like Sketchglass can help with the hardest bits.
What you need on the table
Keep it short. Too many supplies turn card making into sorting pens.
- Card or thick paper. A sheet of printer card folded in half is perfect. Thin paper works too, but markers can bleed through.
- A soft pencil and an eraser. Light pencil lines are the plan. They should rub out easily.
- One pen for outlines. A black felt-tip or fineliner makes the drawing pop.
- Colours. Felt-tips for bright, flat colour, or coloured pencils for softer shading. Pick one, not both.
- Scrap paper. For trying the picture and the letters first.
If you plan to trace with a phone, you also need something to hold it steady above the paper. Our guide to setting up your phone for AR tracing shows how to do it with a glass or a stack of books.
Plan the card before anyone draws
Two minutes of planning saves a lot of erasing. Ask three questions together:
- Who is it for? Grandma, a best friend, a teacher. Write the name on scrap paper and check the spelling.
- What do they love? Cats, football, cars, ice cream. That gives you the picture.
- Where does everything go? Picture on the front, name on the front or inside, message inside.
A simple layout that works for almost any age:
- Front: one big picture in the middle, with the name or "Happy Birthday" above or below it.
- Inside left: leave it blank, or add a small doodle.
- Inside right: the message and the child's name.
- Back: a tiny "Made by" with the child's name and the year. Grown-ups love this part years later.
Pick one big picture
Kids often want to draw everything: cake, balloons, presents, a dog and a rainbow. Gently steer them to one main picture and let the rest be small extras around it. One big drawing reads clearly from across the room.
Good birthday pictures are simple shapes with a happy face:
- A cupcake or a donut. Party food is round, friendly and easy to colour.
- The person's favourite animal. A teddy bear, a puppy, a bunny or a cat with a party hat.
- Something they love doing. A car, a bike, a skateboard or a rocket.
- A flower. A tulip or a daisy works well for grandparents.
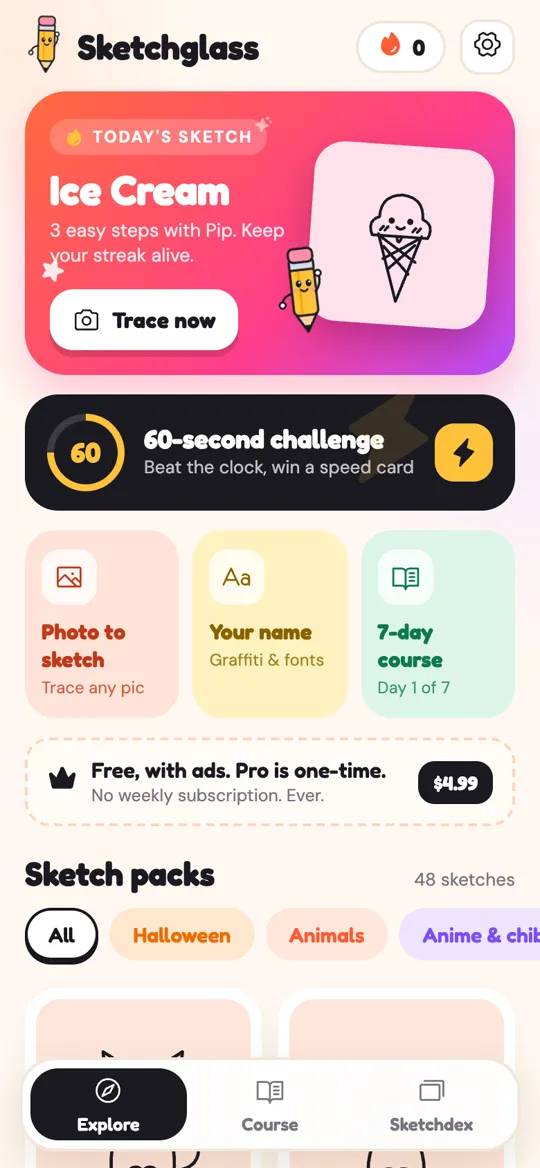
In Sketchglass, the Kawaii food pack includes a Cherry Cupcake, a Sprinkle Donut and an Ice Cream, and the Animals pack has a Teddy Bear and a Happy Puppy. Every sketch comes in a few easy steps with Pip the pencil. If you are drawing freehand, our guide to drawing a sleepy cat shows the same "big shapes first" method you can use for almost any animal.
Draw the front, step by step
Here is the order that keeps the card clean:
- Sketch lightly in pencil. Big shapes first, details last. If you trace with a phone, prop it about a hand above the card, place the sketch over the front half, lock it and follow the lines.
- Check the space. Leave room for the name. If the picture is too big, now is the time to rub it out and go smaller.
- Add the name or "Happy Birthday". See the lettering section below.
- Go over the lines in pen. Slowly, one line at a time. Let the ink dry for a minute.
- Erase the pencil. Rub gently once the ink is dry, holding the card flat.
- Colour. Big areas first, then small ones. Leave a little white on round shapes to look shiny.
- Add small extras. A few dots of confetti, stars or tiny balloons around the main picture.
If the picture faces the wrong way for your layout, a mirror button can flip it before you start. Our guide to AR drawing app tools explains flip, line colour and opacity.
Make the name the star
A name in a fun style turns a simple card into a personal one. Younger kids can write in big bubble letters. Older kids often want graffiti or cursive.
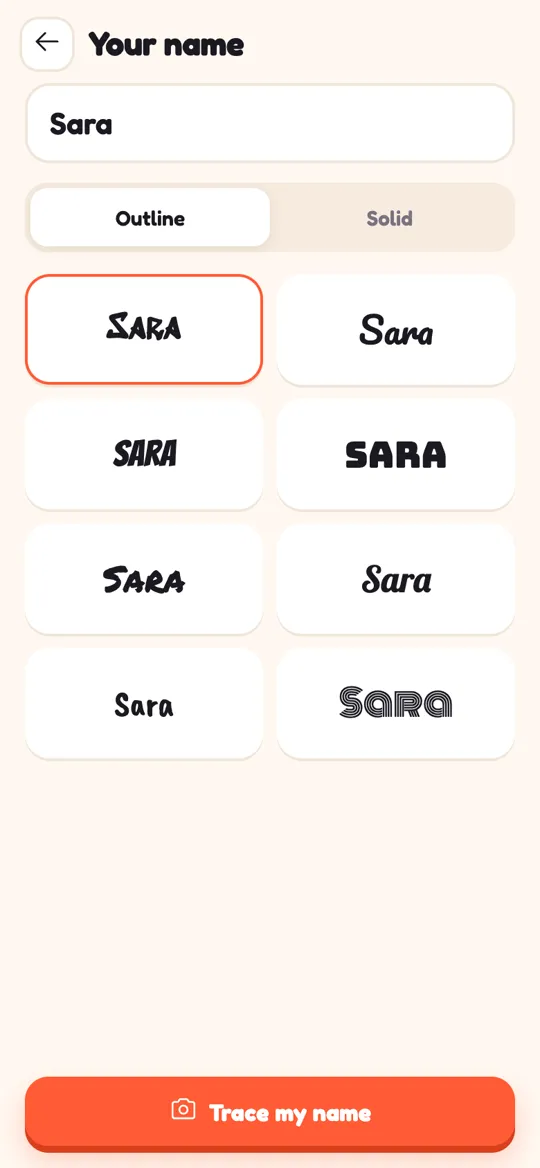
With Sketchglass, tap Your name on the home screen, type the name, choose Outline or Solid and pick one of 8 styles. Then tap Trace my name and the lettering floats over your paper through the camera. Our full guide to tracing your name in 8 fonts covers each style and how to keep the letters crisp.
Lettering tips that help on a small card:
- Try it on scrap paper first. Long names need more room than you think.
- Outline letters are fun to fill. Colour each letter differently, or add stripes and dots inside.
- Keep "Happy Birthday" plain if the name is fancy. Two loud styles fight each other.
Write the message inside
The message is where the child's voice matters most. Avoid writing it for them. Instead, ask a question and write down what they say on scrap paper, then let them copy it.
Questions that get real answers:
- "What do you like doing with them?"
- "What do you want to wish them this year?"
- "What is something funny they do?"
Keep it to one or two sentences. Kids who are still learning to write can trace your light pencil letters, or draw a small picture instead of words. End with "Love from" and the child's own signature, however wobbly.
Sharing the card with family far away
Not every grandparent lives down the road. You can post the card and still send a picture on the day.
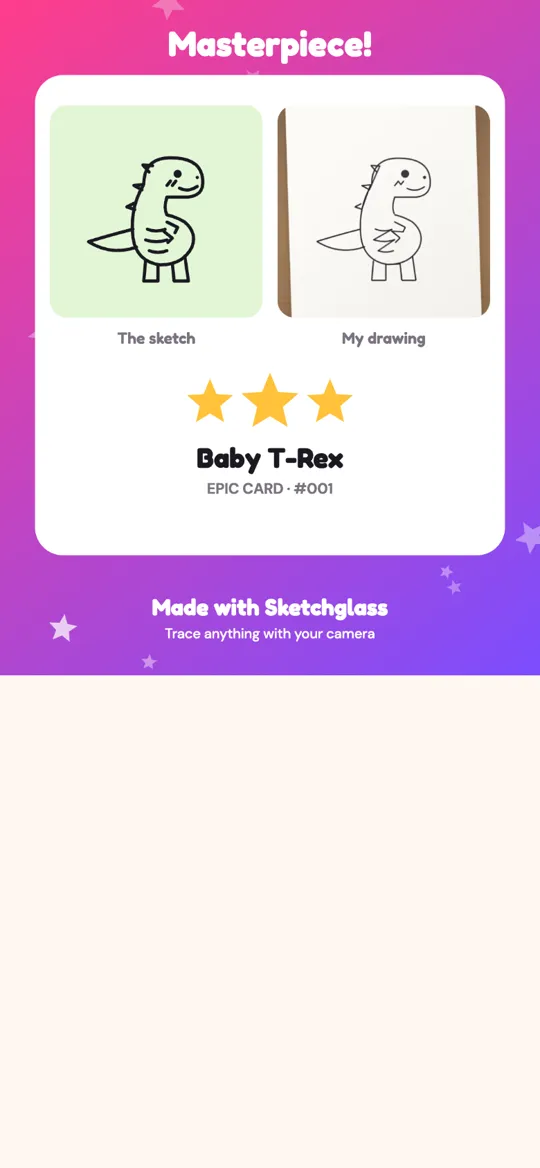
When you finish a drawing in Sketchglass, it becomes a card with 1 to 3 stars, and the Share card button makes an image that shows the original sketch beside your real drawing. You choose where it goes through your phone's own share menu. Nothing is uploaded unless you share it yourself, and the app has no account. Our parent's guide to AR drawing for kids has more on camera privacy.
A photo of the finished card works just as well. Take it near a window in daylight, flat on a table, so the colours look true.
Tips for different ages
- Little ones: you draw the light pencil shapes, they colour and add stickers or dots. Let them choose the colours, even a blue cake.
- Early school age: they can trace or copy one picture and write the name in bubble letters with a little help.
- Older kids: let them plan the whole layout, try a lettering style and add a small drawing inside as a surprise.
Whatever the age, praise the choices, not the neatness. "I love that you gave the bear a party hat" means more than "that's perfect".
FAQ
What is the easiest thing for a child to draw on a birthday card?
A cupcake, a donut or a balloon. They are round, simple shapes that look good big, and they are fun to colour with bright felt-tips.
Should we draw on the card or on separate paper?
Either works. Drawing straight on folded card looks neat. Drawing on separate paper and gluing it to the front lets kids try again without wasting a card.
How do we stop markers bleeding through the card?
Use thicker card, or slip a sheet of scrap paper inside the fold while colouring. Let ink dry before you close the card.
Can kids trace the birthday person's name?
Yes. Write it lightly in pencil for them to go over, or use the Your name screen in Sketchglass to trace it in one of 8 lettering styles on real paper.
Is it fine if the card is messy?
Yes. A homemade card is valued because a child made it. Wobbly lines and odd colours are part of the charm, so let them keep their choices.